I am pleased to have a guest blogger today. Please welcome Michelle Wiederhoft.
Michelle states:
A little bio about me:
I was born and bred in St Paul, Minnesota and still live in a small suburb of the city. I am happily married to my best friend, Ron and have been for 14 years. My daughter, Emma, is 10-1/2 and the light of my life. She is a wonderfully bright, beautiful and funny child who just happens to have AD/HD and is on the Autism Spectrum.
We love to go camping, go to museums and historical sites. We love to watch NASCAR and Minnesota Vikings football. I love to do crafts and small gardening/planting. I am a co-leader for my daughter's Girl Scout troop so I get to do the things I love and help other young girls learn about it and enjoy it too.
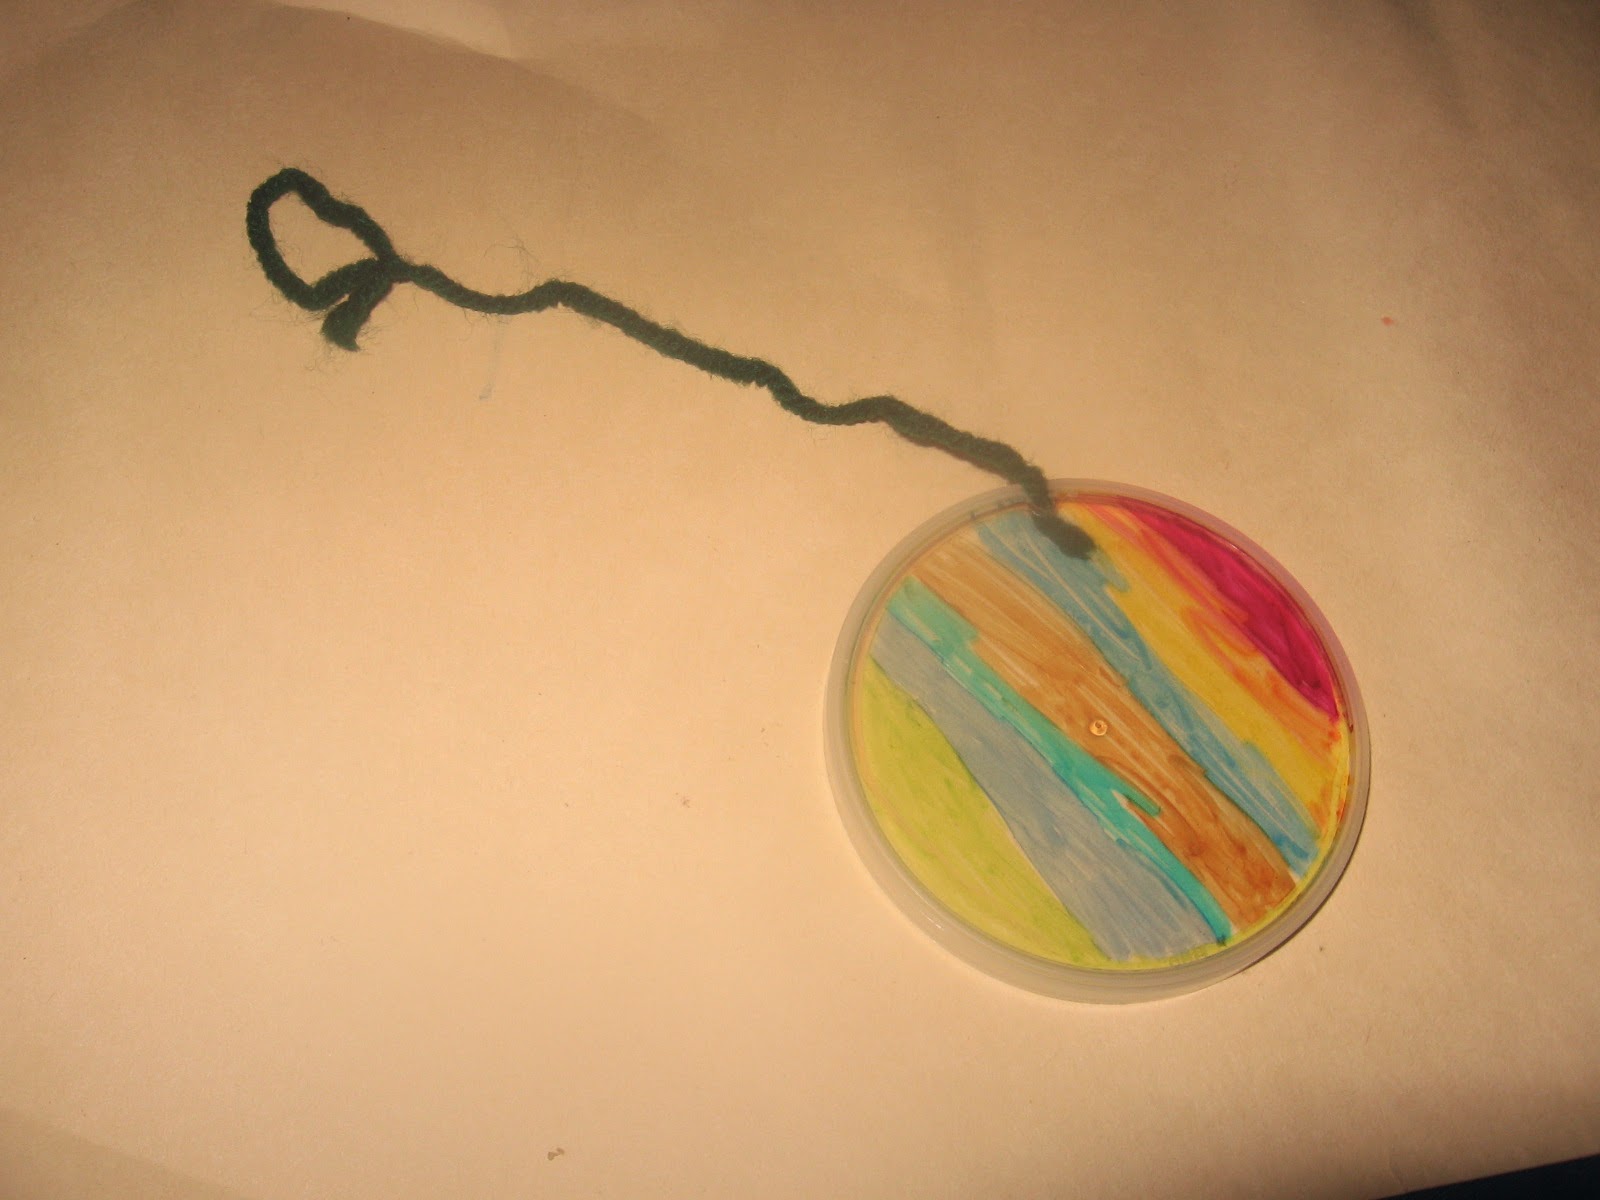
SUN CATCHER ORNAMENTS
This is a simple, inexpensive craft project to do with kids of all ages. You can make these in many different sizes with whatever design your mind can imagine.
What you need for this craft:
Clear Pringles or other plastic lid (needs to be clear)
Sharpie or Bic permanent markers (the kids washable markers do not work on these)
Hole punch
Scissors (to cut string)
String cut to whatever length you would like (I usually cut them to 6-12” lengths) you can use yarn, thread, fishing line or whatever works for you)
First wash the lid in soapy water and completely dry it. This gets the oils from the food items off of them and lets the marker adhere to it better. It also gets rid of fingerprints.
Next, use your hole punch to make a hole for the string to hang it. You could also use the sharp point of your scissor or a knife to make the hole if you don’t have a hole punch. This will now be the top of your sun catcher.
Next, have your child (or yourself) just start making whatever design you want on your lid. Personally, I do the coloring on the inside of the lid, however either side of the lid works. Using brighter or darker colors works the best. Sometimes the lighter colors don’t show up that well.
After you are done designing it, you can take your string and tie it on the lid. Depending on how big the hole is, you can either string it like you would a necklace or tie off a knot at the lid and one at the top, either as a knot or a loop like for a yo-yo. Hang them in a window and enjoy!
Michelle states:
I was born and bred in St Paul, Minnesota and still live in a small suburb of the city. I am happily married to my best friend, Ron and have been for 14 years. My daughter, Emma, is 10-1/2 and the light of my life. She is a wonderfully bright, beautiful and funny child who just happens to have AD/HD and is on the Autism Spectrum.
 |
| Emma |
 |
| The finished sun catchers |
SUN CATCHER ORNAMENTS
This is a simple, inexpensive craft project to do with kids of all ages. You can make these in many different sizes with whatever design your mind can imagine.
What you need for this craft:
Clear Pringles or other plastic lid (needs to be clear)
Sharpie or Bic permanent markers (the kids washable markers do not work on these)
Hole punch
Scissors (to cut string)
String cut to whatever length you would like (I usually cut them to 6-12” lengths) you can use yarn, thread, fishing line or whatever works for you)
First wash the lid in soapy water and completely dry it. This gets the oils from the food items off of them and lets the marker adhere to it better. It also gets rid of fingerprints.
Next, use your hole punch to make a hole for the string to hang it. You could also use the sharp point of your scissor or a knife to make the hole if you don’t have a hole punch. This will now be the top of your sun catcher.
Next, have your child (or yourself) just start making whatever design you want on your lid. Personally, I do the coloring on the inside of the lid, however either side of the lid works. Using brighter or darker colors works the best. Sometimes the lighter colors don’t show up that well.
After you are done designing it, you can take your string and tie it on the lid. Depending on how big the hole is, you can either string it like you would a necklace or tie off a knot at the lid and one at the top, either as a knot or a loop like for a yo-yo. Hang them in a window and enjoy!
If you like making crafts, check these out: How to make a ball & How to make Play-Doh.
Follow us on g+


Just popped by to let you know you,ve been featured today over at Carole's Chatter. Cheers
ReplyDeleteThanks so much!
Delete